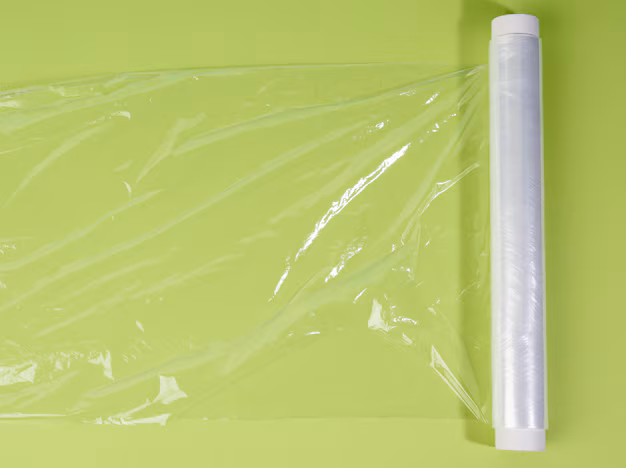
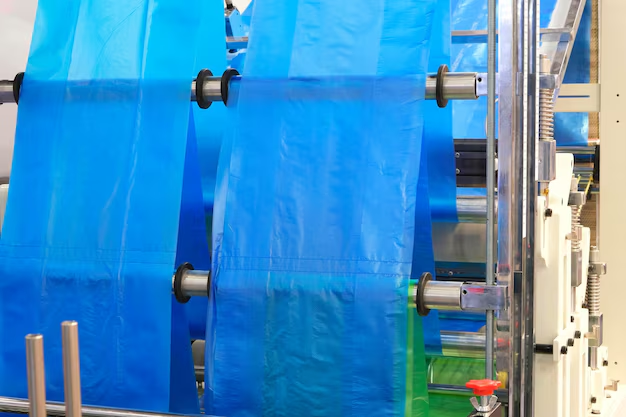
Shrink packaging film plays a key role in keeping products safe from dust, dirt, and moisture. Once heat is applied, it tightens around the item, creating a snug and stable barrier. Whether it’s covering a piece of boat seating or packaging small parts for shipping, the film adds a layer of protection during storage or transit. But like any process, results can go sideways if the film isn’t applied correctly.
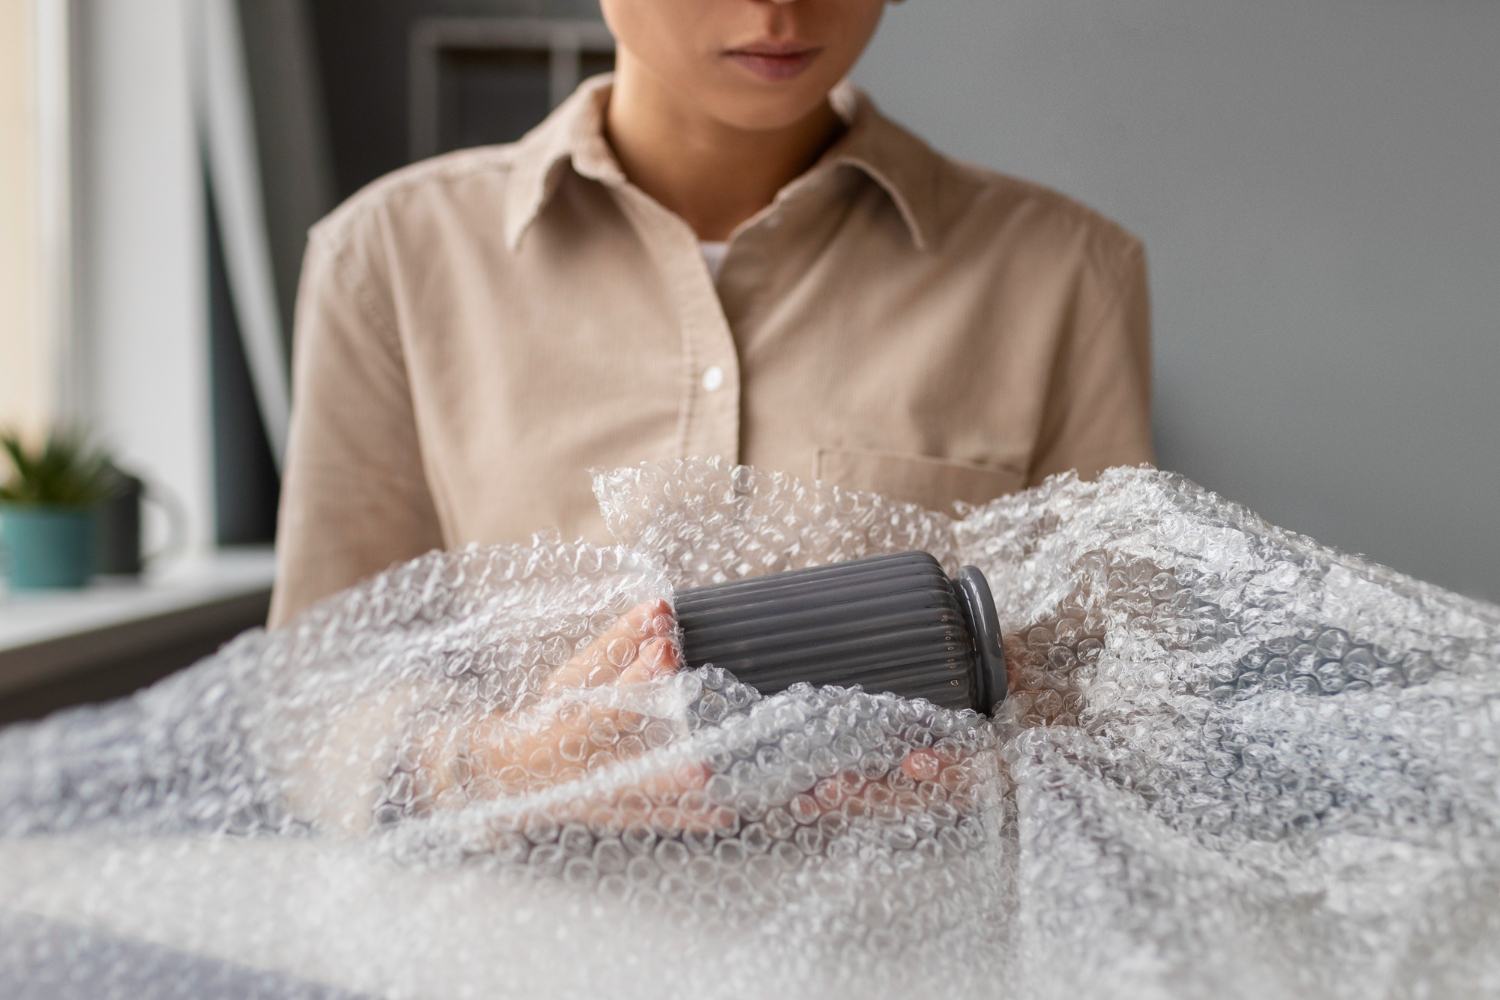
One of the most frustrating problems is dealing with trapped air under the film. At first glance, a few air bubbles might not seem like a big deal. But if left alone, they can weaken the film’s grip, make the wrap look sloppy, and even lead to damage later. Knowing how air pockets form and how to get rid of them is a small step that makes a big difference in quality.
Identifying Common Trapped Air Issues
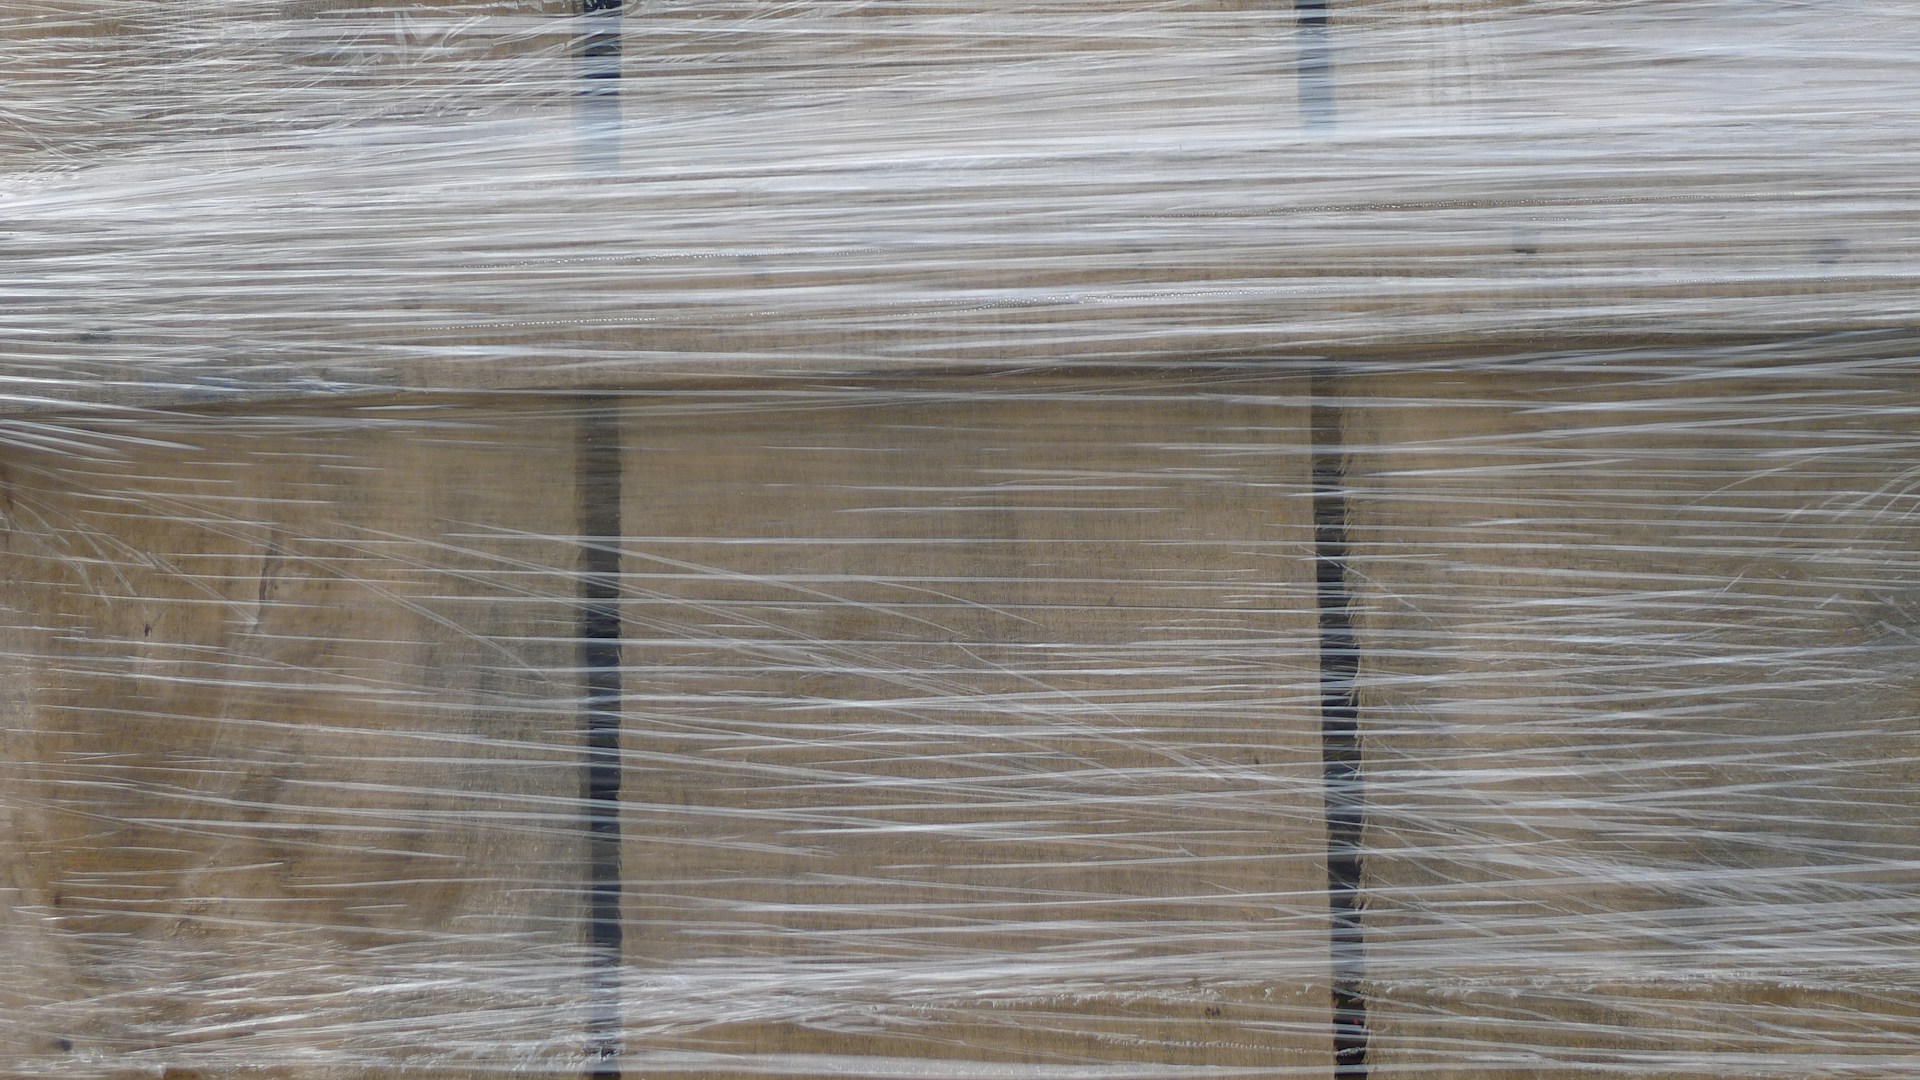
When air gets stuck under shrink film, the results are usually easy to spot. You’ll often see raised bubbles or loose spots that shift around when pressed. These aren’t just cosmetic flaws. They stop the film from sealing tight and can allow dust or moisture to slip through. Even tiny gaps can cause problems on high-value items or products with fine finishes.
Some common situations where air becomes trapped include:
– Fast application where the film is unrolled too quickly
– Wrapping over items with odd shapes or deep grooves
– Gaps between stacked products or spacing irregularities
– Applying heat too soon before film is smoothed out
– Uneven surfaces that don’t allow film to hug the item
A good example would be wrapping a boat cushion that isn’t pressed tightly enough against the base. If the surface isn’t flattened, heat shrinks the outer layer while air stays trapped between folds. That small cushion of air throws off the whole wrap.
Neglecting trapped air doesn’t just make the packaging look bad. It can lead to looser wraps, which means more shifting during shipping or storage. It also increases the chances of tearing since loose areas don’t flex with movement and pressure like properly sealed film does. Over time, this can take a toll on product integrity and even cost more in re-do efforts.
Methods To Remove Trapped Air
Once air is trapped under shrink film, quick action is key. The sooner you deal with it, the better chance you have of saving the wrap and avoiding damage. Depending on the size and shape of the product, there are a few different tools and techniques that can help correct the issue.
1. Use a squeegee or roller
– Start from the middle and press outward in short strokes
– Smooth gently over the film without dragging it too hard
– Keep hands steady to avoid stretching or wrinkling
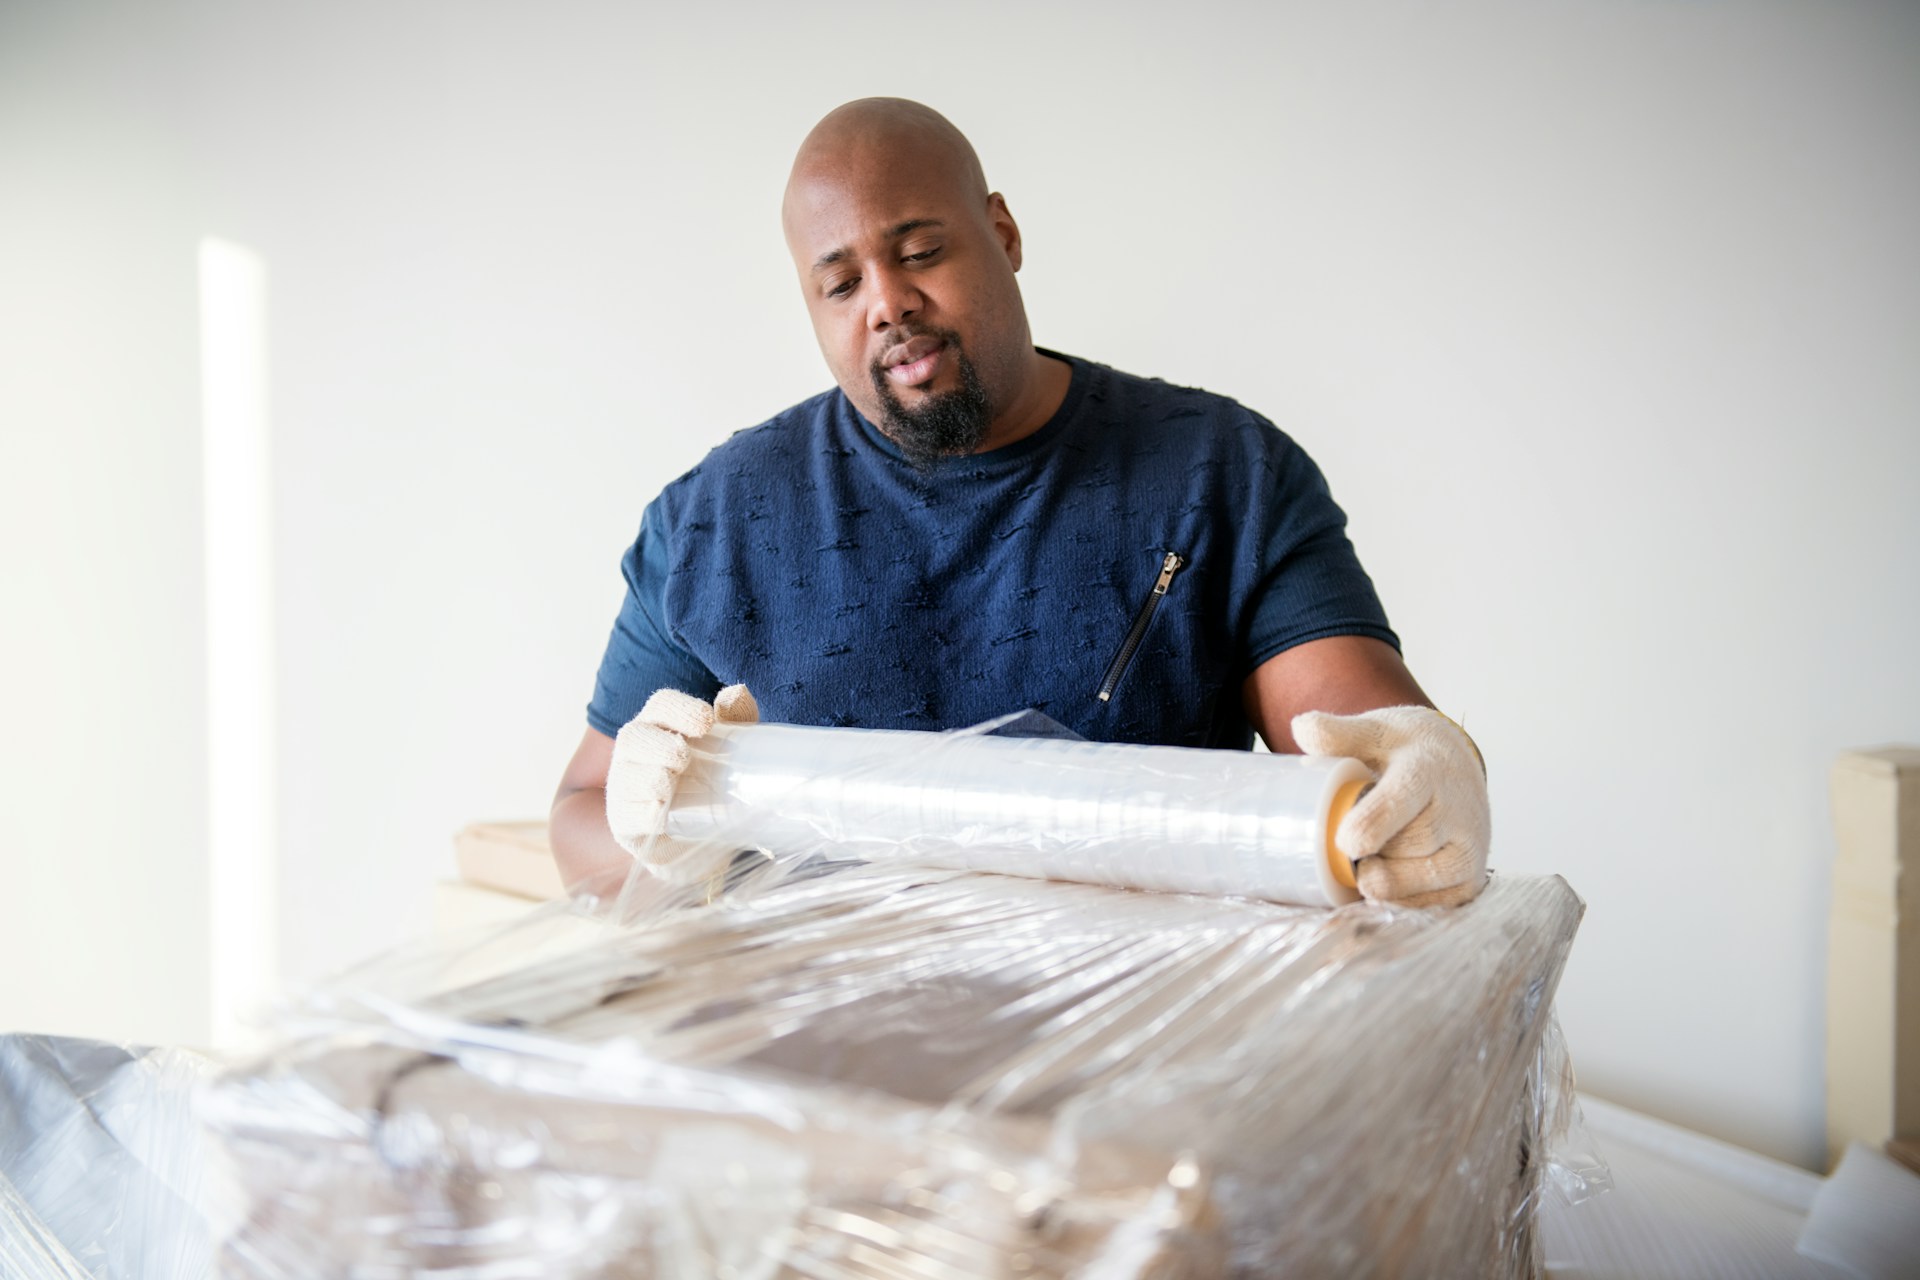
2. Apply the film slowly and evenly
– Don’t rush when unrolling and allow the film to settle naturally
– Use both hands to guide and press as you go
– Watch edges and corners, which often trap air if ignored
3. Try vacuum sealing or air extraction tools
– Useful for larger or unevenly stacked items
– Pulls air out before or during heat application
– Makes for a uniform appearance and stronger hold
Adjusting the way the film is applied can often prevent repeat issues. Sometimes it’s just about setting up extra time in the workflow so that small steps like smoothing and adjusting aren’t skipped. Build that habit into the job and the results stay consistent.
Tools And Techniques For Avoiding Air Bubbles
Preventing trapped air in shrink packaging film begins before the wrap even touches the product. It starts with using the right tools and knowing how to handle them. Wrinkles and bubbles can often be avoided through small adjustments and a little extra care.
A few go-to tools can help cut down on air pockets:
– Application rollers with firm but flexible edges
– Wide manual squeegees for flat or curved surfaces
– Heat guns with temperature control settings
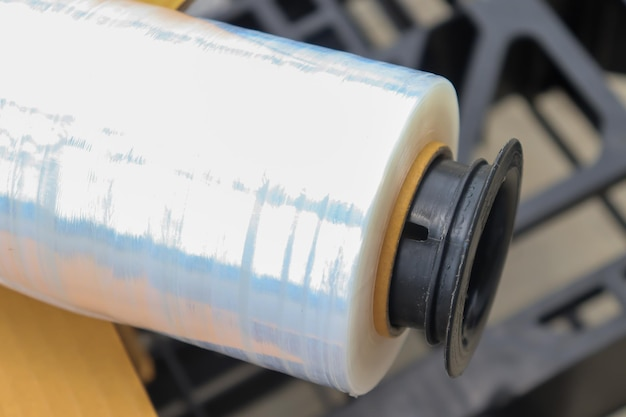
– Pre-stretched film for consistency on large projects
– Perforation tools to let hidden air escape during sealing
These tools have value, but their impact depends on how they’re used. Even the best roller won’t help if it’s rushed over an uneven stack. Some best practices that make a big difference include:
– Keeping film at room temperature before use
– Warming the product surface slightly so the film conforms better
– Starting at one end and working slowly across instead of applying in patches
– Holding consistent tension while unrolling film
– Watching for folds forming at corners and curves early on
Heat also plays a key role. Uneven heating can cause the film to grab in one spot while bunching up in others. A steady pull and even heat distribution help the film apply without issues. If the film is stretched too tightly or applied with one quick pass, air has nowhere to go. Stretching it gently across the surface before heating gives trapped air a chance to escape.
Planning layout ahead of time can also help. Items with odd shapes or surface gaps may need to be repositioned or packed differently so the film hugs snugly. Thinking through the wrapping sequence before starting can make all the difference in getting a tight finish.
Proactive Measures For Future Applications
Once the basics of applying shrink film are covered, it becomes easier to avoid common mistakes on future jobs. A few habits and setups can keep your packaging clean, tight, and bubble-free moving forward.
Start by addressing the workplace. Dusty surfaces make it tough to lay down film without trapping small particles that lead to air pockets. Clear off surfaces before wrapping and avoid working near cutting tables or sanding areas. If needed, move packaging operations to cleaner sections of the line.
Next is equipment care. Worn rollers, dull blades, and loose controls can throw off application tension and create soft spots. Stay on top of regular checks, including your heat tools, film carriages, and cutting areas. Minor wear often leads to bigger issues if ignored for too long.
Staff training can be the silent difference-maker. Everyone on the floor should understand how small steps like slowing down and checking tension affect the result. Real-time demonstrations are a great way to show how film behaves under different handling techniques, heat patterns, or pressure changes.
A few practical reminders for daily operations:
– Keep a clean and open workspace free of heavy dust
– Run quick but regular checks on guns, rollers, and tension systems
– Store rolls of shrink film in cool and dry areas to prevent warping
– Train team members who use different film types, as not all behave the same
– Run test wraps when using new roll lots to catch inconsistencies early on
These small habits help reduce delays and packaging waste, especially when working on complex shapes like bus or boat seating. Taking time upfront may save hours and prevent customer issues that come from weak or uneven wrapping.
Keep Your Wraps Tight and Trouble-Free
A clean finish with shrink packaging film isn’t just about looks. It protects the product from grime and damage and keeps everything safe during shipment. But even one bubble can lead to problems if it causes a tear or loosens the hold.
Whether you’re packaging custom vehicle cushions or preparing parts for a large order, every layer matters. Taking the extra time to remove air quickly, apply the film with care, and train teams properly builds a stronger operation from top to bottom.
Consistency over time comes from more than reliable tools. It includes keeping the space clean, checking machines, and making sure the crew knows what to look out for. A little planning before each job can mean a lot less stress once the heat hits the film and the wrap seals shut.
To keep your wraps clean and secure during transport, it’s important to use the right tools and materials. At Markley and Associates, we offer dependable solutions that help eliminate air pockets and protect every package, no matter the shape or size. Learn how our approach to shrink packaging film can make your packaging process smoother and more reliable from start to finish.

 markleyandassociates