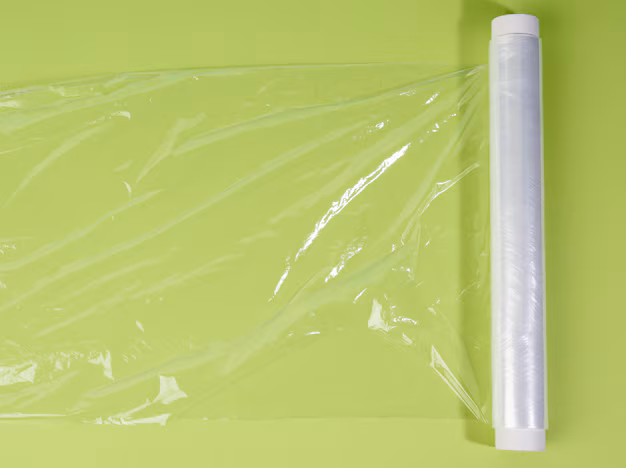
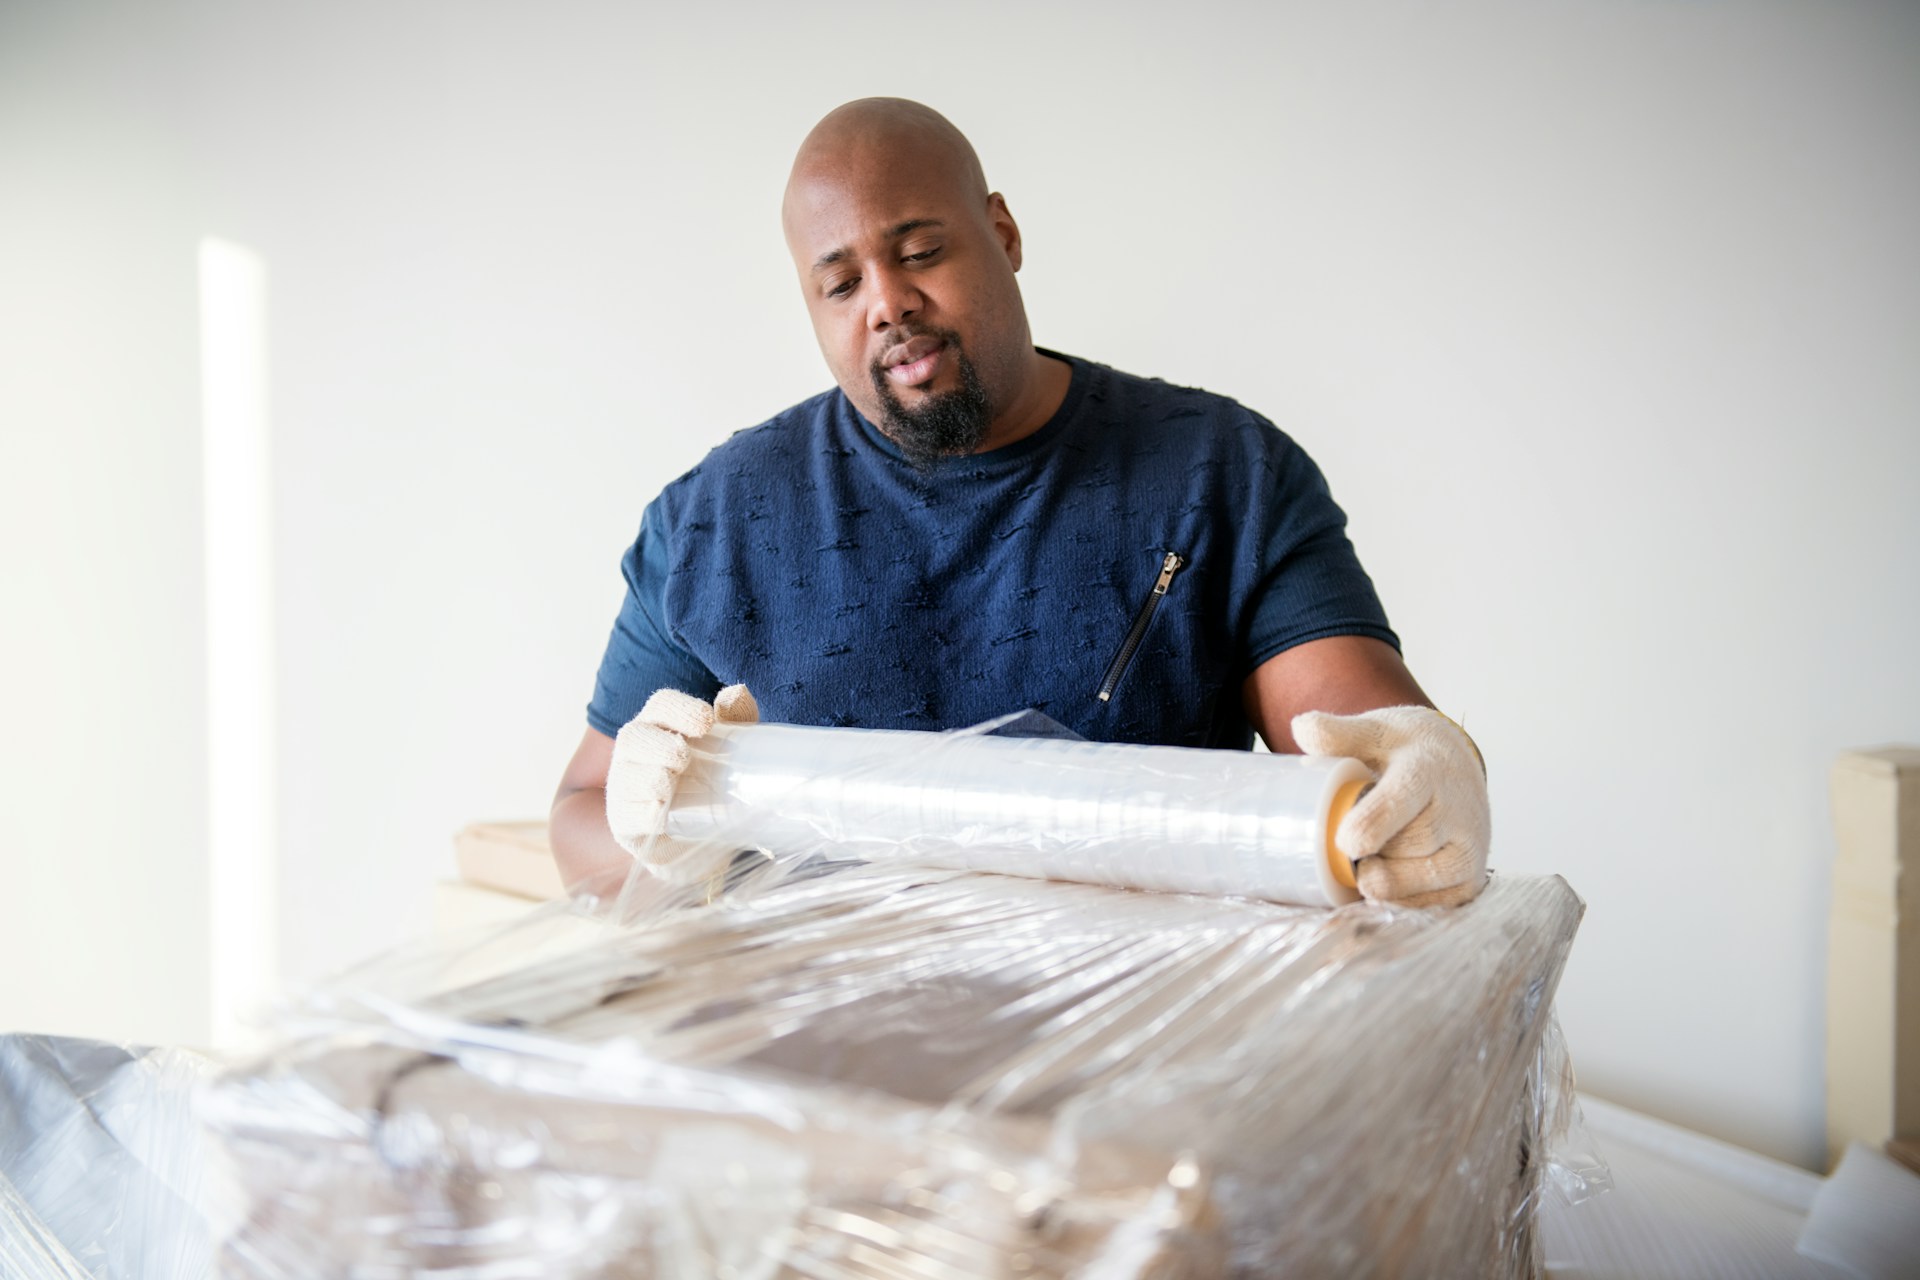
Cushion wrap film plays a big part in how well your finished product looks and performs. Whether it’s packaging high-end furniture or covering foam cushions for vehicle seating, this film helps protect materials while giving everything a clean, finished look. Smooth application not only helps the product look sharp, it keeps damage to a minimum during storage or transport.
One issue that shows up more than most is air bubbles during film application. These bubbles can throw off the whole look and even weaken the seal between layers. They pop up when the surface isn’t prepped right or when the film goes on with too much speed or pressure. Knowing what causes them and how to stop them can help avoid waste and keep your production timeline on track.
The Impact Of Air Bubbles
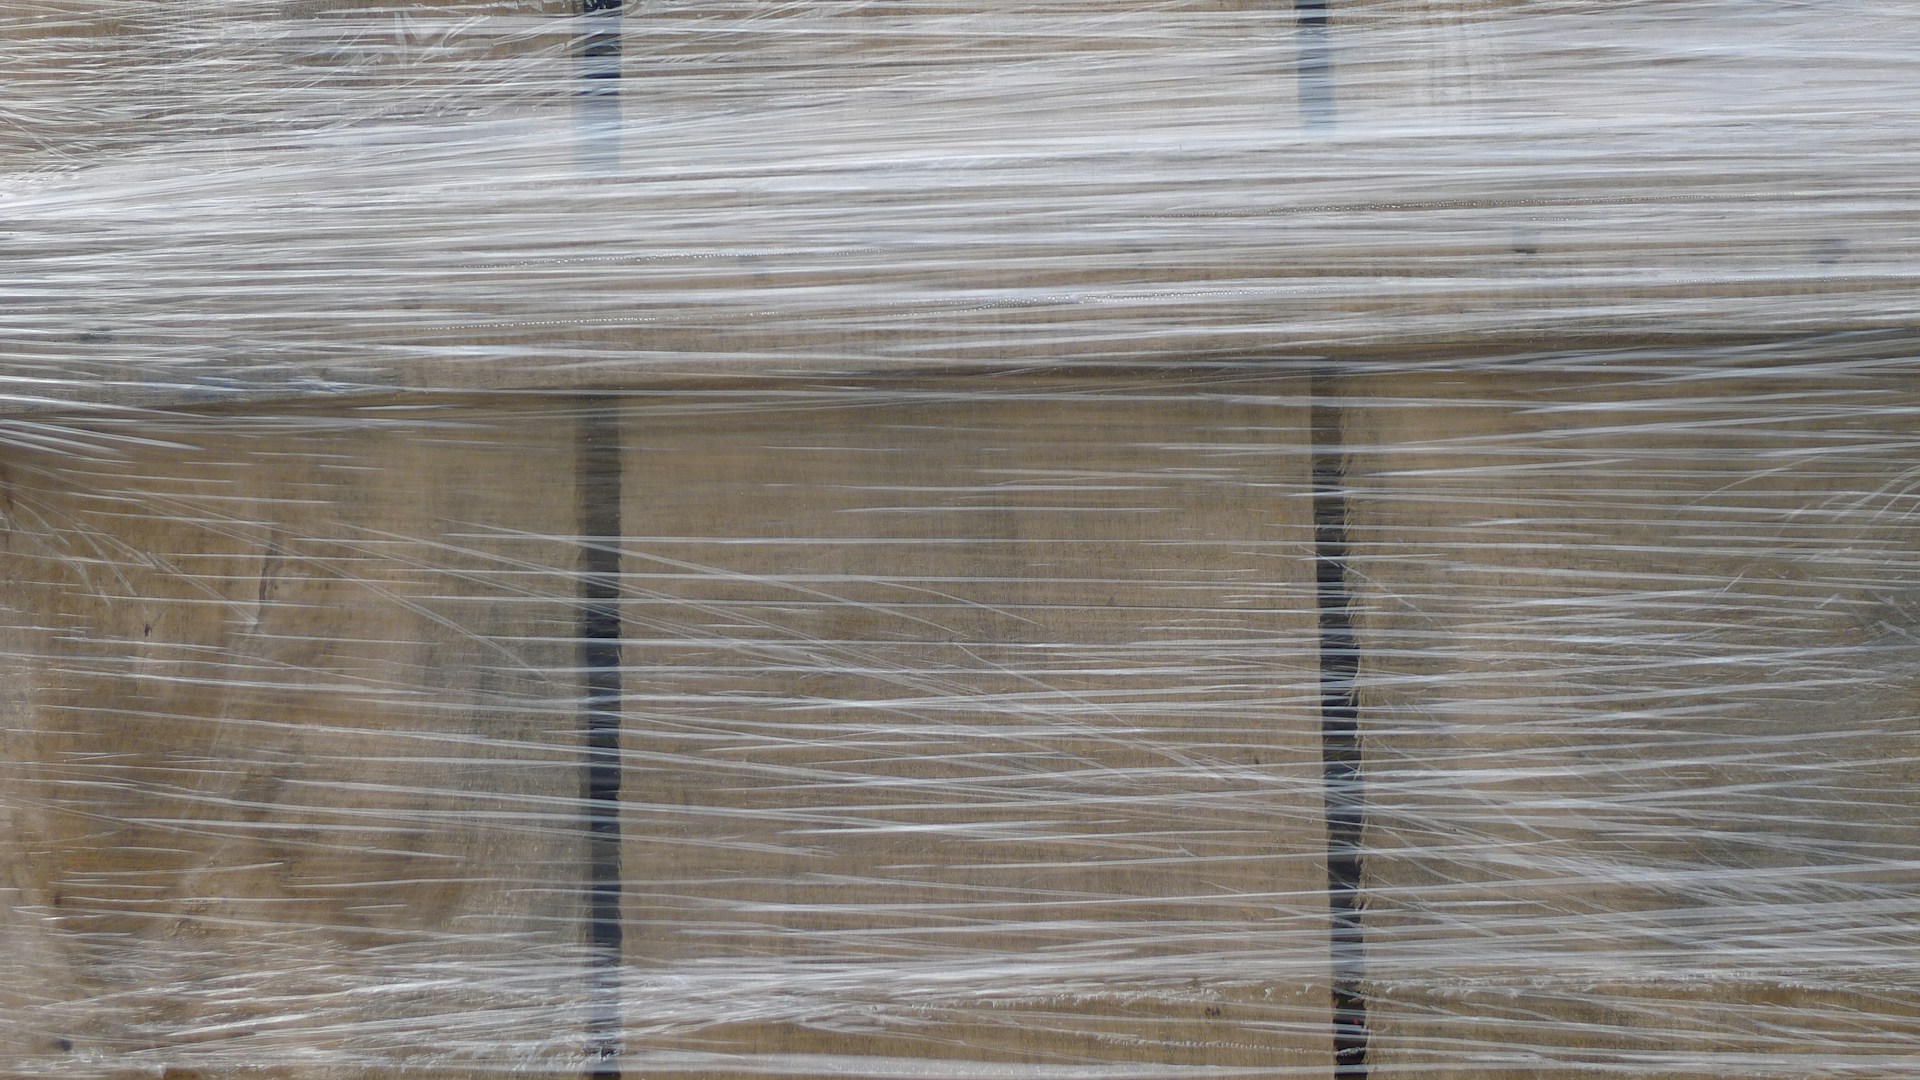
When air pockets or bubbles form between the cushion wrap film and the material underneath, things tend to go sideways. First, there’s the visual problem. A bubbly film layer just doesn’t look clean or professional. Then there’s performance. If a bubble causes uneven tension or sticks in the wrong spot, it can lead to wrinkles, weak bonding, or even tearing once the item starts moving through shipping or gets installed.
One of the biggest time-wasters during final inspection is having to redo an application because of trapped air. It slows down packaging. It stalls the line. And it can cost more than just lost time—especially if your film tears or the material gets marked up from bubble pressure. These small imperfections can also cause complaints on delivery, which no one needs if you’re running repeat orders or trying to meet a tight build schedule.
Take the auto seating industry, for example. A facility was wrapping seat foam and sent out a batch with minor bubbling in the film. At first, it seemed fine, but once pressure was applied during installation, several areas popped open, exposing the foam underneath. The return ended up costing both time and extra freight. One misstep in the wrapping process started that whole mess.
Avoiding this starts with knowing where the problems come from and fixing them upstream—usually right at the surface level.
Preparing The Surface
A smooth surface sets the stage for a clean wrap. Skip this step, and you’re way more likely to deal with bubbles later. Dirt, foam particles, or even tiny irregular spots can catch under the film and form small pockets of air. These spots not only create visual flaws, they’re always the weak points where film can shift or tear under pressure.
Here’s how to properly prep the surface:
1. Wipe down the area using a dry, lint-free cloth to remove loose particles.
2. Use a film-safe cleaner or alcohol-based wipe to remove oils or adhesives from prior use.
3. Let the surface fully dry before placing any wrap film over it.
4. Inspect for uneven areas or rips in the foam that might trap air.
5. Lightly press your hand across the surface to feel for anything that might snag or catch.
When working with textured materials or foams with deeper grain, try brushing the surface gently or using light compressed air to lift out deeper dust. Just be sure the air pressure doesn’t push loose fibers into corners or seams, where air could gather later.
Lighting helps here too. A good overhead light can make it easier to spot trapped lint, edge marks, or tacky spots that would otherwise go unnoticed. Set your prep up in the brightest part of the table if possible.
Once the surface is good to go, you’re already halfway to a bubble-free application. The next part is knowing how to keep the film itself under control as you apply it.
Techniques to Prevent Air Bubbles
Even with a well-prepped surface, the way the wrap is applied makes a big difference. Bubbles usually sneak in when the film is laid down too quickly, or when there’s uneven tension during application. The good news is most of that can be avoided with the right tools and some small adjustments.
Here are a few proven methods to keep bubbles from forming during wrapping:
– Use a hand roller with medium pressure to smooth out the film as it’s being applied. Go slow and keep an even pace to push air outward.
– Try a squeegee or soft-edge tool for smaller pieces or tighter corners. These allow more control during pressing.
– Hold the film above the surface and gently lower it down instead of dragging it across. That cuts off air before it gets trapped underneath.
– Keep the film taut—but not stretched—before placing it. Overstretching can lead to snapback or poor seal contact that pulls air in later.
– Work from one side of the surface to the other in overlapping strokes. Avoid working from the center out, which can trap air as you go.
Temperature and moisture in your work area matter, too. If the humidity is too high, the film may not stick cleanly—and if the material is cold, it may resist bonding at certain points. Try to keep wrapping areas at a steady room temperature and away from extreme humidity swings. This helps the film perform the way it’s supposed to and stops extra air from forming as the wrap adjusts to the surface under it.
Practicing with scrap sections of film can also give newer team members a feel for the motion and pressure differences. It’s a good way to avoid wasting product thanks to avoidable bubbles.
Best Practices for Film Application
Getting it right the first time is key to saving rework and material. A smooth, bubble-free application is mostly about paying attention—from how the film is handled to how it’s seated during the wrap.
Follow this simple process to stay ahead of problems:
1. Start from one clean edge and keep even tension as the film is unrolled.
2. Apply small sections at a time using a steady smoothing tool, moving slowly.
3. Use firm, downward pressure to secure each section before moving on.
4. Watch for spots where film might shift—like fabric seams, curves, or foam dents—and apply extra smoothing pressure there.
5. Let the film rest once it’s applied before moving or cutting anything. This gives the wrap time to settle into place.
One helpful habit is checking your heat or water-activated wraps to make sure the seal has set evenly across the product surface. When a wrap doesn’t fully bond in one area, that’s often where bubbles pop up later—especially right before shipment or during use.
If you’re running a lot of similar items on the same bench or table, take a moment between runs to clear out any leftover film scraps or adhesive spots. Nothing drags bubbles back into the job like leftover debris from a previous run.
Smooth Film, Smooth Operations
Getting rid of air bubbles isn’t just about making things look good. It directly affects how your product holds up in the real world—shipping across states, getting installed in a vehicle, or being unboxed by a customer. Each wrap has a purpose, and when it doesn’t sit right, it can’t do its job well.
Taking time to prep, apply, and inspect every wrap may feel like it slows you down. But over the long haul, it saves money, preserves materials, and keeps things running without unwanted stops. It’s the kind of consistent process that builds good habits across your whole team.
Whether you’re wrapping bus seats, boat cushions, or padded frames, starting with a clean surface and applying the film the right way makes a big difference. Keep things simple, go step by step, and treat every wrap like it matters—because it does.
For a smoother workflow and better protection of your products during shipping and handling, take a look at our selection of cushion wrap film at Markley and Associates—built to meet the real needs of production teams across the Midwest.

 markleyandassociates